Jun 25, 2022Step 2 – Draw some details for the water bottle. You have the outline of your water bottle drawing done, so now we can start to draw the first details in this second step. The details will be subtle for now, but they will get more complex later on. For now, draw some short curved lines horizontally onto the bottle, and then use some on the
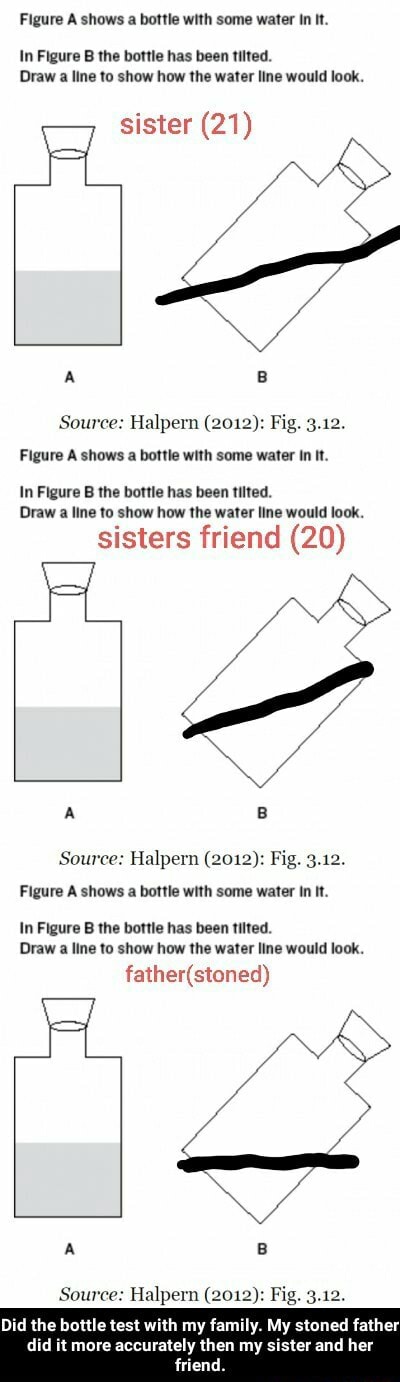
Figure A shows a bottle with some water In It. In Figure B the bottle has been tilted. Draw a line to show how the water line would look. sister (21) Source:
Feb 18, 2024Start by collecting empty plastic bottles and cleaning them thoroughly. Cut, shape, and mold the bottles into desired forms using scissors and heat. Assemble the parts together using adhesive or by heating the plastic edges. Paint the sculptures with waterproof colors to enhance their appearance.

Source Image: www.pinterest.com
Download Image
Dec 23, 20234. Draw the neck of the bottle by extending two more parallel lines from the shoulder curve, slightly narrower than the body of the bottle. 5. Sketch the bottle cap by drawing a smaller oval on the top of the neck lines. 6. Add details to the cap by drawing horizontal lines across it to show the cap’s threads. 7.

Source Image: in.pinterest.com
Download Image
Ocean in a Bottle – Messy Little Monster A squirt bottle. Water. Directions: Measure your box & mark the center of your box on the top end of the cover. Hot glue the roll to the middle of the box as shown. This will form your see saw. Tear off a square of Saran Wrap, fold it & lay it down. Place the see saw on the Saran Wrap roll side down.

Source Image: www.madeformums.com
Download Image
Figure A Shows A Bottle With Some Water In It
A squirt bottle. Water. Directions: Measure your box & mark the center of your box on the top end of the cover. Hot glue the roll to the middle of the box as shown. This will form your see saw. Tear off a square of Saran Wrap, fold it & lay it down. Place the see saw on the Saran Wrap roll side down. Step 1: Poke 3 Holes In a Bottle. I like to use a large 2-liter bottle for this experiment, but even a smaller water bottle will work too. Make sure the label is removed from the bottle and it is nice and clean before creating the holes in your bottle. Then using a sharp nail or screw, and with adult supervision, carefully poke 3 holes at
Best bottles for breastfed babies | MadeForMums
Figure A shows a bottle with some water in it. In Figure B the bottle has been tilted. Draw a line to show how the water line would look. 1 Fig. 1. The water-level task. children gradually come to con struct a euclidean (three-dimen sional) conceptual system of hori zontal and vertical axes with which to represent space. This ref Best Bottled Water Brands to Drink, Taste Tested and Ranked – Thrillist
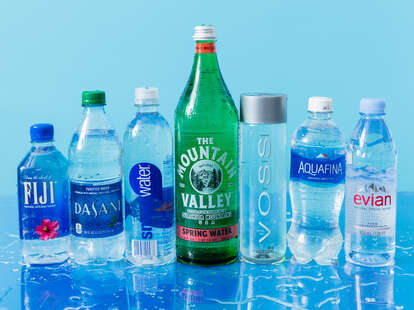
Source Image: www.thrillist.com
Download Image
Does Water Expire? What to Know About Water Expiration | Trusted Since 1922 Figure A shows a bottle with some water in it. In Figure B the bottle has been tilted. Draw a line to show how the water line would look. 1 Fig. 1. The water-level task. children gradually come to con struct a euclidean (three-dimen sional) conceptual system of hori zontal and vertical axes with which to represent space. This ref

Source Image: www.rd.com
Download Image
Figure A shows a bottle with some water In It. In Figure B the bottle has been tilted. Draw a line to show how the water line would look. sister (21) Source: Jun 25, 2022Step 2 – Draw some details for the water bottle. You have the outline of your water bottle drawing done, so now we can start to draw the first details in this second step. The details will be subtle for now, but they will get more complex later on. For now, draw some short curved lines horizontally onto the bottle, and then use some on the
Source Image: ifunny.co
Download Image
Ocean in a Bottle – Messy Little Monster Dec 23, 20234. Draw the neck of the bottle by extending two more parallel lines from the shoulder curve, slightly narrower than the body of the bottle. 5. Sketch the bottle cap by drawing a smaller oval on the top of the neck lines. 6. Add details to the cap by drawing horizontal lines across it to show the cap’s threads. 7.

Source Image: www.messylittlemonster.com
Download Image
Water Bottles: Plastic, Stainless Steel, & Insulated | REI Co-op Experiment 3: bottled water. These activities use a simple bottle of water to reveal some surprising effects due to surface tension and gravity. It’s a good idea to do them outdoors because water spillage is likely (see figure 3). Materials. Plastic bottle (250 ml) with screw cap; Large needle or nail; Procedure
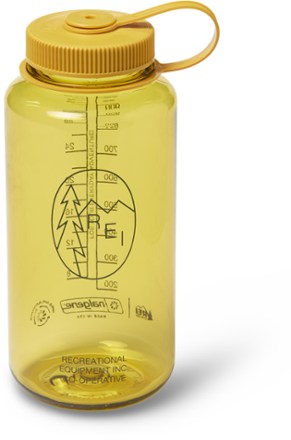
Source Image: www.rei.com
Download Image
60 Ways to Reuse Plastic Bottles A squirt bottle. Water. Directions: Measure your box & mark the center of your box on the top end of the cover. Hot glue the roll to the middle of the box as shown. This will form your see saw. Tear off a square of Saran Wrap, fold it & lay it down. Place the see saw on the Saran Wrap roll side down.
Source Image: foshbottle.com
Download Image
The best insulated water bottles of 2024 | Popular Science Step 1: Poke 3 Holes In a Bottle. I like to use a large 2-liter bottle for this experiment, but even a smaller water bottle will work too. Make sure the label is removed from the bottle and it is nice and clean before creating the holes in your bottle. Then using a sharp nail or screw, and with adult supervision, carefully poke 3 holes at
Source Image: www.popsci.com
Download Image
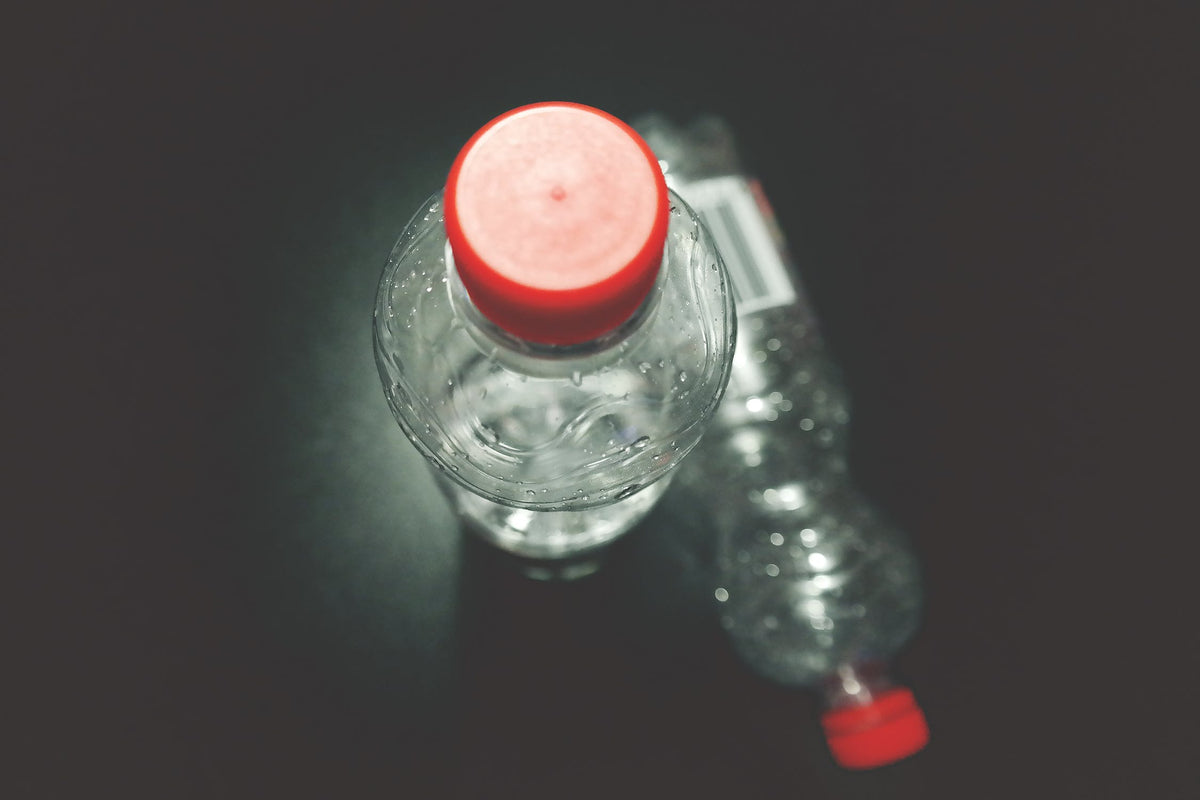
Does Water Expire? What to Know About Water Expiration | Trusted Since 1922
The best insulated water bottles of 2024 | Popular Science Feb 18, 2024Start by collecting empty plastic bottles and cleaning them thoroughly. Cut, shape, and mold the bottles into desired forms using scissors and heat. Assemble the parts together using adhesive or by heating the plastic edges. Paint the sculptures with waterproof colors to enhance their appearance.
Ocean in a Bottle – Messy Little Monster 60 Ways to Reuse Plastic Bottles Experiment 3: bottled water. These activities use a simple bottle of water to reveal some surprising effects due to surface tension and gravity. It’s a good idea to do them outdoors because water spillage is likely (see figure 3). Materials. Plastic bottle (250 ml) with screw cap; Large needle or nail; Procedure
